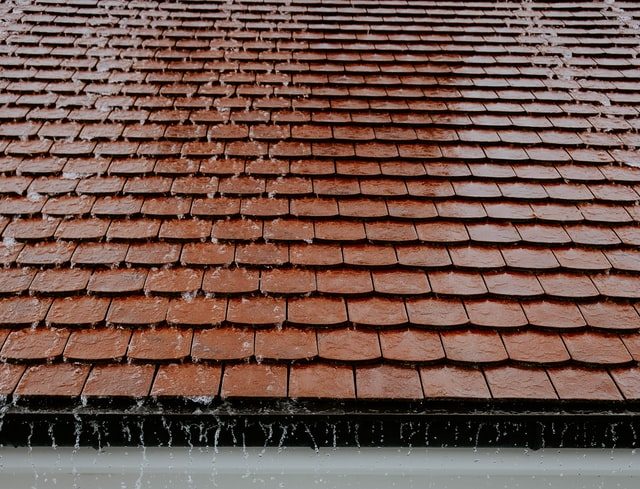
A shingled roof features tidy rows of asphalt segments that overlap and protect the underlayment from damage. Asphalt shingles are somewhat flexible. However, they pose a challenge when it comes to creating proper drainage where different planes of the roof come together. Adding metal flashing to valleys, the concave corners where segments of the roof meet, allows for adequate drainage without compromising the shingles.
Understanding Roof Valleys and Drainage
In a roof with a single ridgeline and a slope on each side that extends to a gutter, rain flows evenly down all of the surfaces. But many roofs are more complicated than that. They have valleys that form where different roof pitches meet. This can occur around dormer windows, porch roofs and L-shaped sections.
Because the valleys create a low spot, they are magnets for rain. They have to stand up to lots of water accumulation and movement, which means that they’re also prone to leaks and deterioration.
There are several techniques for safeguarding valleys from water flow. Some are more effective than others.
The least effective method is to interweave the shingles at the valley. This can lead to shingle damage, and it exposes the shingles in that area to more deterioration that the surrounding regions. To make the valley more effective and protective, many roofers insert metal flashing in the valleys.
Metal flashing directs water away from the shingles and guides it toward the gutters. Because metal withstands the elements extremely well, it provides an effective barrier against rain, snow and ice. However, it must be installed properly to prevent leaks.
When to Use W-Valley Flashing
Different types of flashing are available for valleys. Standard V-valley flashing has one bend in the middle. The cross-section is in the shape of a V. This type is also referred to as uncrimped flashing.
W-valley flashing has a crimp down the center. Therefore, its cross-section looks like a W. This design creates two channels down which water can flow. It also prevents the rain that flows down one slope of the roof from shooting up under the shingles on the adjacent slope.
For most projects, W-valley flashing provides additional protection. It’s especially useful at junctures in the roof where one slope is steeper than the adjoining one. Without the ridge in the center of the flashing, water from the steeper roof would be likely to flow up toward the shingles on the other side. W-valleys are also sturdier than V-valleys.
Should You Install Open or Closed Valleys?
Roofers consider a valley to be open when the metal flashing is not completely covered by shingles. The flashing acts like a gutter, allowing water to drain freely along the metal channels.
A closed valley is completely covered by shingles. They may be manipulated to bend with the angles of the junction and interwoven to produce a seamless appearance.
To create a closed cut valley, you would bring the shingles from the steeper slope across the center of the crevice. Then, you would cut the shingles from the other slope down the center of the valley.
While closed valleys are aesthetically appealing, they have several drawbacks, including the following:
- Friction from the water against the shingles deteriorates them.
- Debris is more likely to accumulate instead of being swept off of the roof.
- Ice dams have a better chance of developing.
- They may not be recommended by the shingle manufacturer.
- Replacement or repair is more tedious than with metal flashing.
Most roofers recommend open valleys. W-valley flashing comes in a variety of colors and finishes. You can select a tone that complements the colors of your home. Some homeowners choose to have open valley flashing painted to match the rest of the roof. If W-valley flashing is installed correctly, it will look great and last as long as your roof does.
How to Install a W-Valley
Metal valleys take the brunt of the moisture impact on your roof. Therefore, it’s essential that you install them properly. Working with a licensed, experienced roofer will safeguard your home from devastating leaks.
You must put down an ice and water protector first. This should extend beyond the edges of the flashing by at least two feet. Many roofers use the entire width of the roll. This layer of material blocks water from getting to the underlayment if it happens to travel up the roof slope in heavy storms.
Starting from the bottom edge of the roof, lay the metal valley over the ice and water protector. Nail it down along the edges. Overlap additional lengths of flashing by at least 6 inches, and apply roofing cement to seal the joint.
Then, install the shingles on the roof. To leave an open valley, bring the edges of the shingles to about 2 inches from the flashing’s center ridge. Cut them to create a clean vertical line that exposes just about 4 inches of the metal.
How to Maintain a W-Valley
One of the benefits of W-valleys is that they’re low maintenance. You should clean them out when you clear your gutters. Remove debris that may impede water flow if you see it collecting in the valley. However, even on roofs with lower pitches, open valleys tend to clear themselves because the metal surface allows twigs, leaves and pine straw to glide toward the gutters.
The biggest threat to a roof valley is an ice dam. These form when ice and water build up at the edge of the roof and block drainage. They’re often caused by inadequately insulated attics. Heat from inside the house warms the roof unevenly, causing snow to melt and refreeze as it flows toward the eaves.
If outdoor temperatures are cold enough, the ice will build up along the edge of the roof. It can topple gutters and break shingles.
There are several ways to prevent ice dams, including removing accumulated snow from the roof. However, that’s not always possible.
The best way to avoid this scenario is to have your roof inspected by a professional. At Presidio Roofing, we conduct comprehensive roof inspections. Our technicians can ensure that your attic is properly insulated and vented. We can also evaluate the valleys on your roof to allow for proper drainage and avoid problems.
Whether you’re building a new home or having your roof replaced, you might want to think about upgrading your flashing in vulnerable valleys. Building codes designate the types of valleys that you can use on your building. We can help you make sense of your options and provide a free quote for W-valley installation.

About the Author
Certifications & Affiliations